
Follow along in PinyPiny. The app is free to download; premium paper, fonts or styling mentioned in this guide may require Pro.
1. Choose one moment, not a whole camera roll
Pick a photo with a story you can describe in a sentence. For this first page, a quiet breakfast or a walk is easier to work with than an entire holiday. Keep a second photo only if it adds something the first one cannot show.
Open PinyPiny and create a note. Begin with a plain paper option so the content can lead. Premium papers and fonts are optional Pro features; you can make the composition with the core tools first.
2. Put the main photo on the page
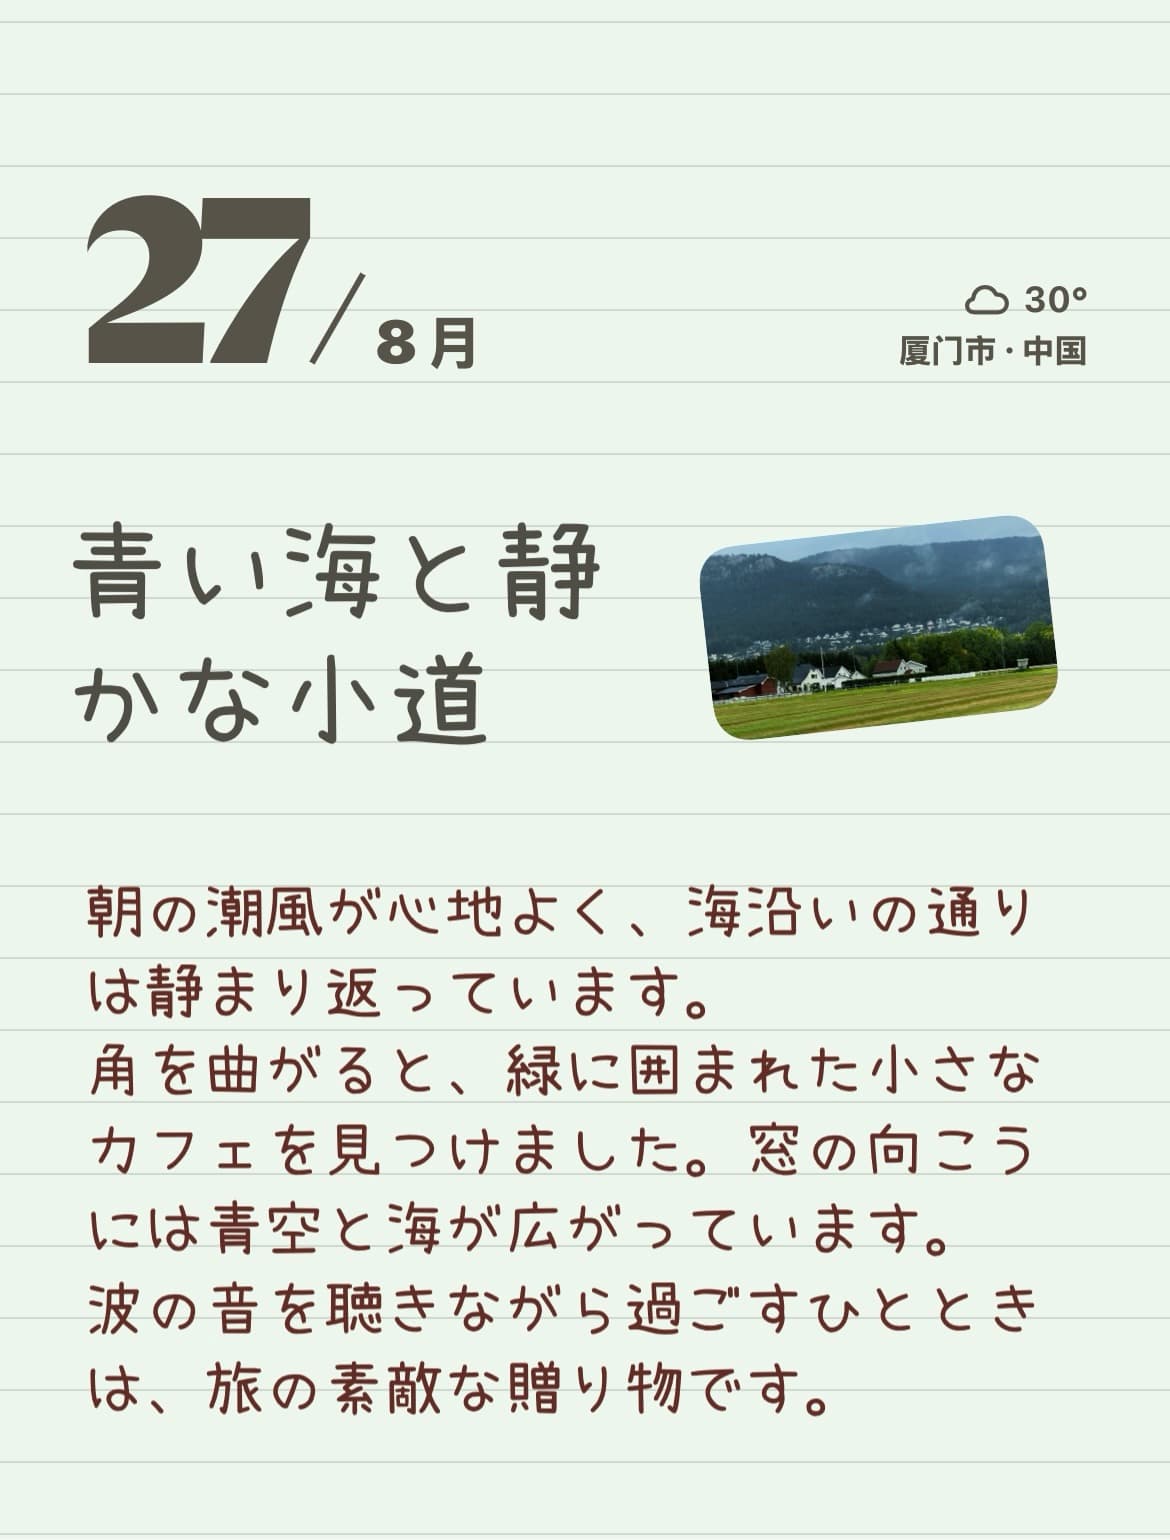
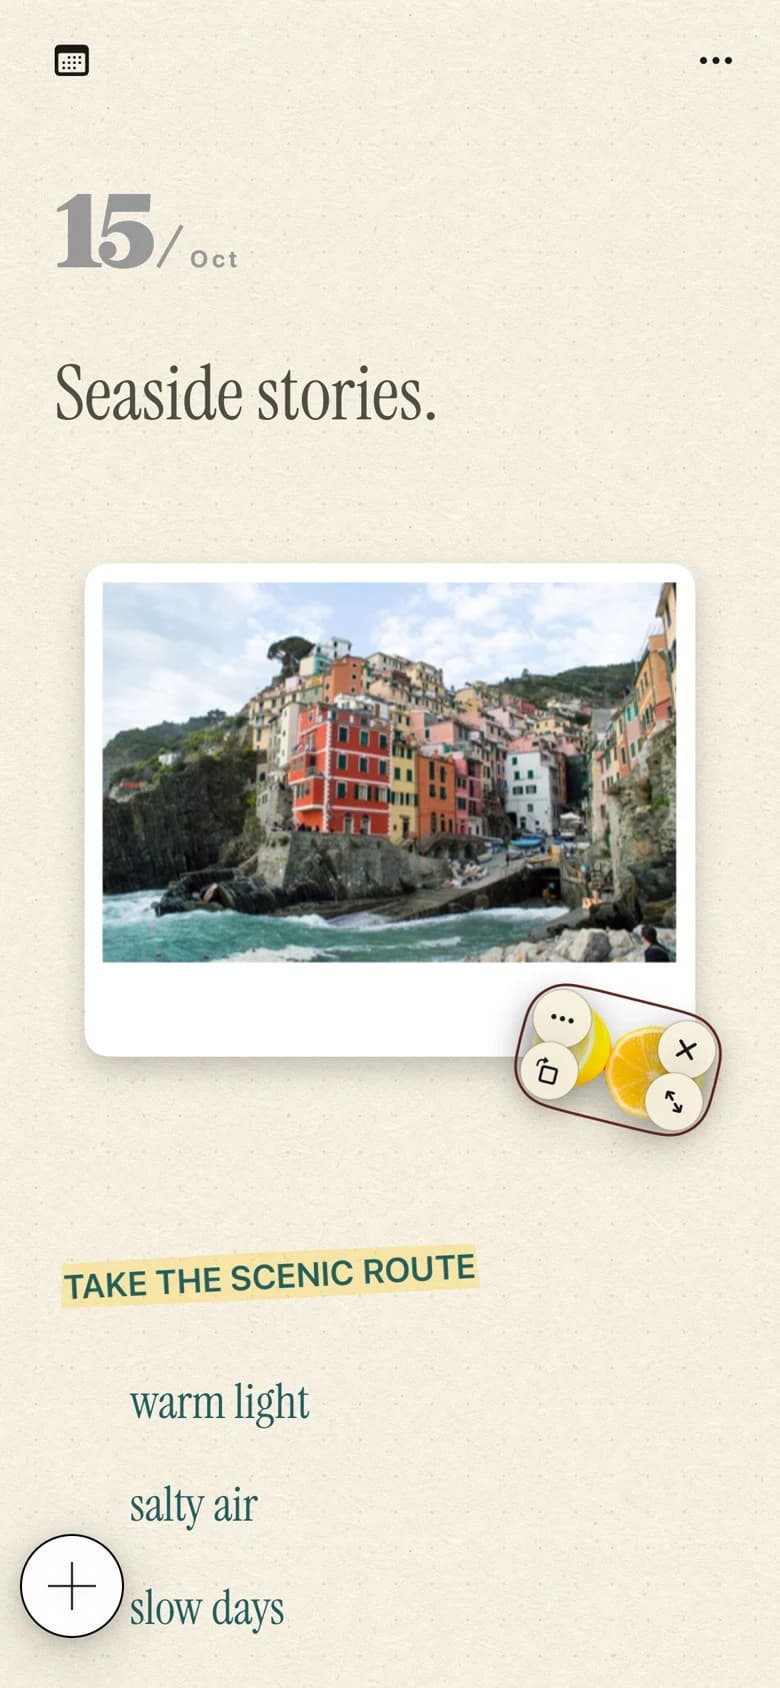
Add your chosen photo as a separate element. Move and resize it until it becomes the focal point, leaving space for a title and a caption. You might keep it straight for a quiet page or turn it slightly for a looser scrapbook feel.
This approach uses a photo placed on the paper. Inserting a photo directly inside running text is a different feature and requires Pro. You do not need inline photos to complete this example.

3. Add the words the photo needs
Write a short title and one or two sentences about the moment. “The walk that took all afternoon” says more than a generic label such as “Weekend.” Add a date or place in text if it will help you remember the scene later.
Use a clear difference between the title and the caption. Keep body text readable, give it some space, and try one accent color before adding more. A scrapbook page can feel personal without filling every corner.
- Name the moment in a short title.
- Add a detail outside the frame: a sound, conversation, or feeling.
- Read the caption at its final size and adjust spacing if needed.
4. Add one sticker that belongs to the story
Open Sticker Studio and choose a photo with a clear subject. Select the subject you want to keep, generate its preview, then place the result on the paper. A flower from the walk or the cup from breakfast makes the decoration part of the memory.
Position the sticker beside the main photo instead of over the important detail. If the cutout is not clear, try another image with better separation between the subject and background. This is a useful finishing detail, not a required step.
5. Read it once, then keep or export it
Check that the title leads, the photo is visible, and the caption is comfortable to read. Remove one element if the page feels crowded. Return to the card stack to keep the editable note in your collection.
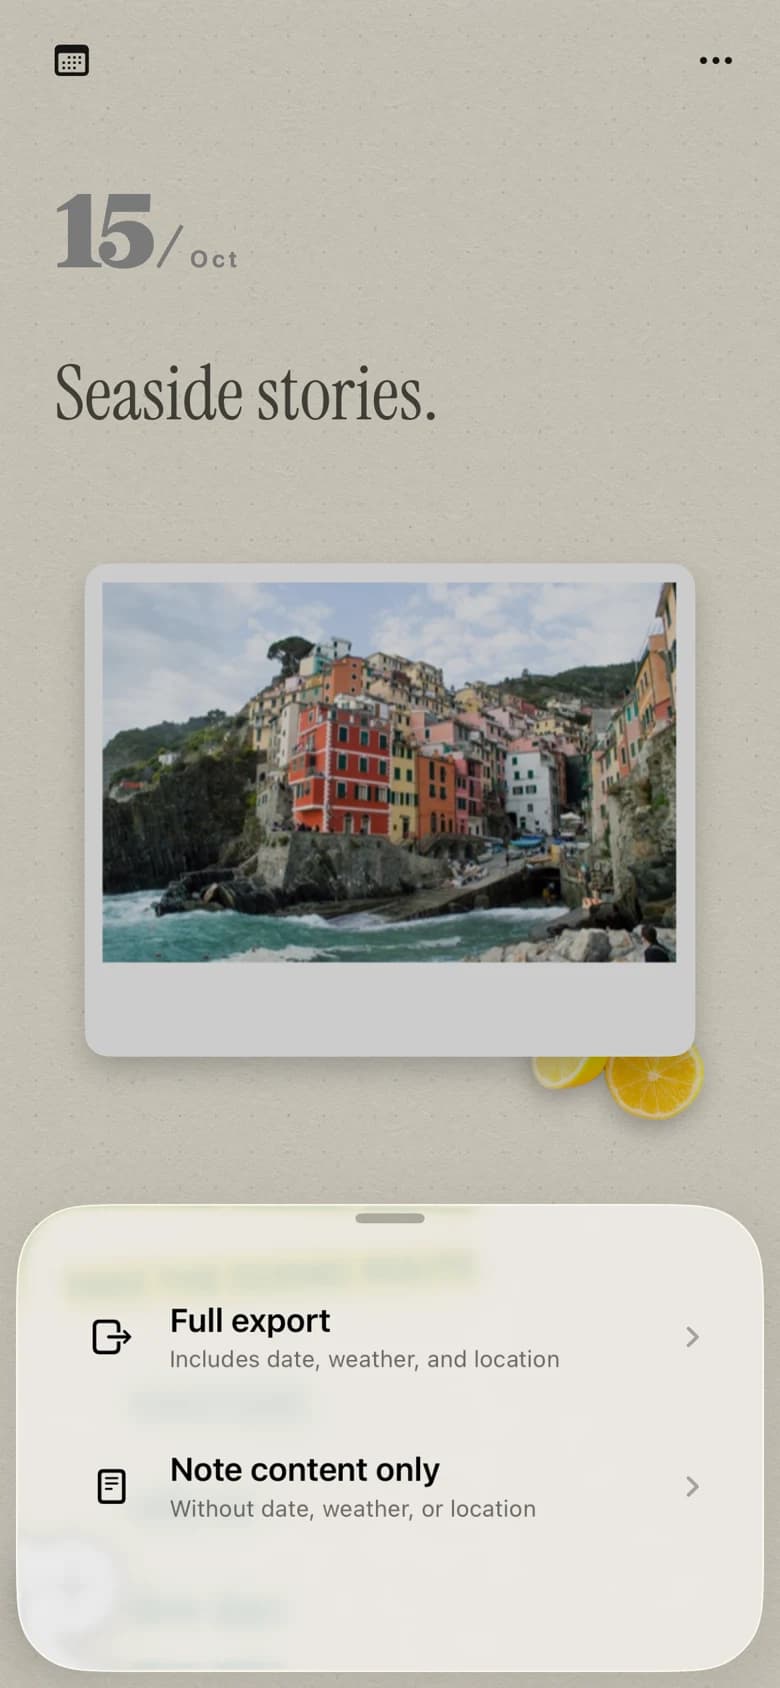
To keep a finished copy in Photos, use the note's export option and allow the requested Photos permission. The output is an image. Before sharing, check that the page does not show personal details you would rather keep private.
Common questions
What do I need for my first digital scrapbook page?
An iPhone or iPad running iOS or iPadOS 18 or later, PinyPiny, and one photo are enough to start. Add a short title and a sentence before trying more decoration.
Can I follow this without Pro?
Yes. The basic composition uses text, a separately placed photo, and a sticker. Optional premium papers and fonts shown elsewhere, inline photos, animation, and iCloud sync require Pro.
Is the finished page a PDF?
This guide uses image export to Photos. It does not promise PDF export or a downloadable, editable template.
