
Follow along in PinyPiny. The app is free to download; premium paper, fonts or styling mentioned in this guide may require Pro.
1. Start with a subject you can see clearly
A cup, a flower, a pet, or a small souvenir is a good first subject. Use a photo where the whole object is visible and does not blend into the background. Fine hair, transparent objects, shadows, and crowded scenes can make a cutout less predictable.
Open a note and its Sticker Studio. Choose the photo route for an image already in your library, or the camera route when the object is in front of you. Only grant permissions you need for the route you use.
2. From Photos: select the subject yourself
Choose an image from the photo picker and wait for subject detection. Tap the detected subject you want to keep. You can select more than one detected subject when the picture contains several; the preview action becomes available once there is a selection.
Generate the preview and inspect the edges. If the wrong subject is selected, return to the subject selection and try again. A single detected subject may already be selected for you, but it is still worth checking before you place it.
- Open Sticker Studio and choose the option to select a photo.
- Pick an image, then select the detected subject or subjects.
- Generate a preview and check that it includes what you want.
3. From Camera: capture, then check the preview
Choose the camera option in Sticker Studio and allow camera access when asked. Put the subject fully inside the frame, keep the background simple, and take the picture. The camera flow detects the main subject and prepares a sticker preview automatically.
Inspect that preview before adding it to the note. If it misses what you intended, retake the photo with a clearer angle or try the Photos route for manual subject selection. Camera results depend on the scene; not every object can be separated cleanly.
4. Place the sticker where it helps the page
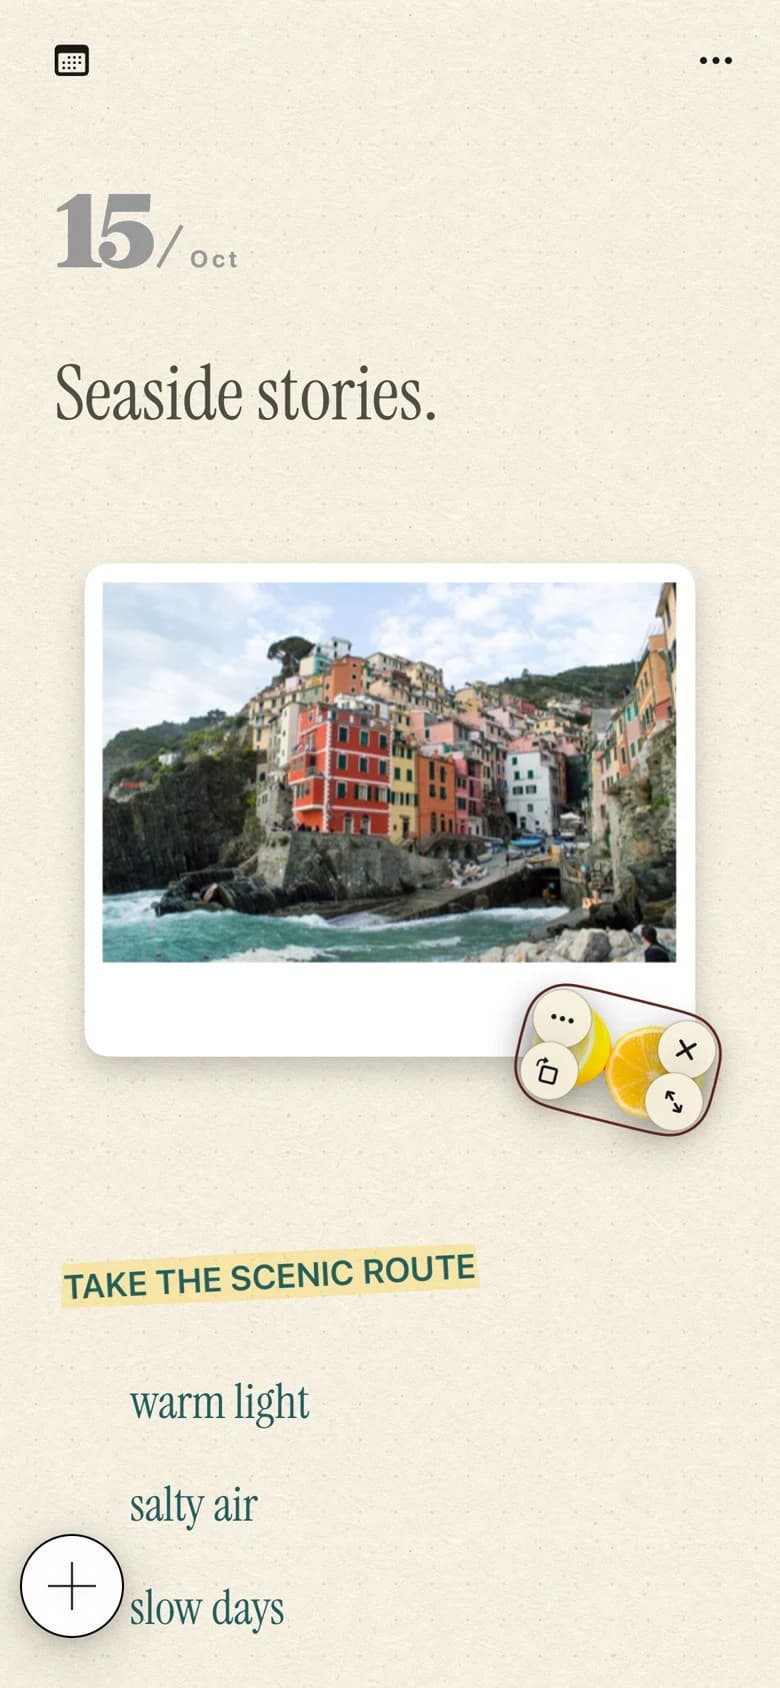
Confirm the preview to add the sticker to your note. Move and resize it like a page element. Try putting a small cutout beside a title, or let it overlap the edge of a photo while keeping the important part of that photo visible.
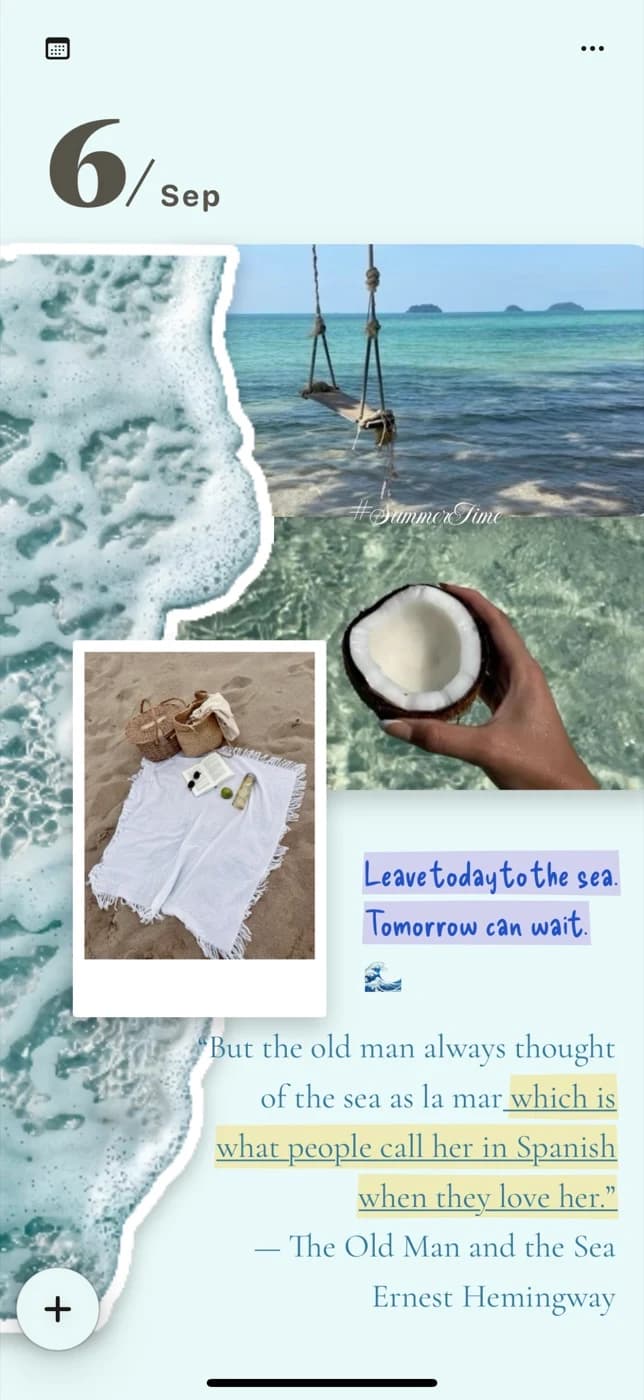
One personal sticker often gives a page enough character. If you need a second, use it to guide the eye toward the caption rather than to cover unused space. The aim is to connect the decoration to the story.
5. If the cutout is unclear, change the source
When no useful subject is detected, a new source photo is usually the clearest next step. Move the subject away from a busy background, include its edges, and avoid severe blur. For an existing photo, try a different shot of the same object.
If the camera is unavailable, use an existing photo instead. If access was denied, you can review permission settings on your device. Once the page is complete, export the whole note as an image if you want a copy in Photos.
Common questions
Can I choose which subject becomes a sticker?
In the Photos route, you can select from the subjects detected in the image before generating the preview. The camera route automatically starts with the main detected subject.
Why was part of my subject left out?
Subject separation depends on the source image. Try a clearer photo with the full object in view and more contrast between the subject and its background. A clean cutout is not guaranteed for every photo.
Can I make a sticker without taking a new photo?
Yes. Choose an existing image through Sticker Studio's photo picker, select the detected subject, and preview the result before placing it in the note.
